The exact three products needed for flawless DIY soap nails — no extras required.
Full DIY Tutorial 2026
Soap Nails
Soap Nails
DIY
The complete guide to doing perfect soap nails at home — every step, every product, the gel DIY option, maintenance routine, and every mistake to avoid. Salon quality in 35 minutes.
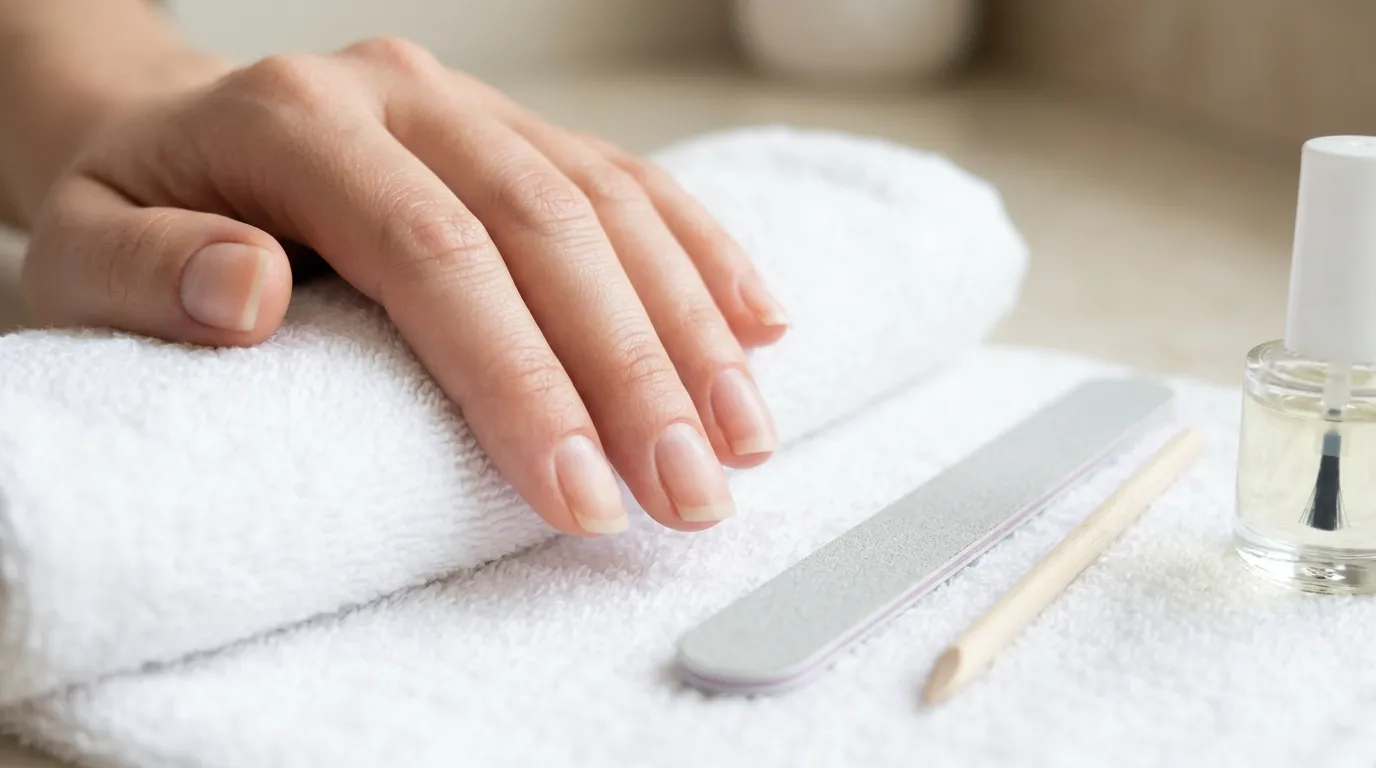
Can you do soap nails at home? Yes — and they are one of the easiest nail looks to DIY. Soap nails rely on technique and product choice rather than artistic skill. The nine-step process below takes 30–35 minutes and delivers results that rival a salon finish. The three non-negotiables: proper nail prep (buff the surface), sheer polish in thin coats, and a genuinely high-gloss top coat. Get those three right and your soap nails will look flawless every time.
What You Need
Eight items — that is all. Most are under $15 each.
Sheer Polish
OPI Bubble Bath or Essie Ballet Slippers — the two gold-standard sheer soap nail polishes
Ultra-Gloss Top Coat
Seche Vite Dry Fast — the highest-gloss top coat available at any price point
Base Coat
OPI Natural Nail Base Coat or Essie Here to Stay — thin formula, strong adhesion
Cuticle Oil
CND SolarOil or any fast-absorbing cuticle oil — applied daily for clean soap nail results
Nail File
180–220 grit fine-grit file — for oval or soft square shaping without splitting
Buffer Block
4-way buffer block — smooth ridges, create glass-like nail surface before polish
Wooden Cuticle Stick
For gently pushing cuticles back — safer and gentler than metal pushers
Lint-Free Wipes + IPA
Isopropyl alcohol wipes — clean the nail surface before base coat for maximum adhesion
The 9-Step Soap Nails DIY Process
Follow every step in order — each one builds on the last.
1
Remove All Old Polish
Use an acetone-free nail polish remover to remove every trace of existing polish. Acetone-free is gentler on the nail plate and doesn't cause the dryness that leads to peeling or ridges. After removing polish, wipe each nail with an isopropyl alcohol wipe to eliminate any remaining remover residue, oils, and dust.
✦ Pro tip: Skipping the IPA wipe is the #1 cause of premature lifting and chipping in DIY soap nails.2
Shape Your Nails
Using a 180–220 grit file, shape nails into oval or soft square — the two shapes that complement the soap nail aesthetic best. File in one direction only (never saw back and forth) to prevent micro-tears and splitting. Keep all nails the same length by using your middle finger as the reference point.
✦ Pro tip: Oval is the most flattering soap nail shape — it elongates fingers and keeps the minimal aesthetic front and center.3
Cuticle Oil + Care
Apply a generous drop of cuticle oil to each nail and let it absorb for 2–3 minutes. Then use a wooden cuticle stick to gently push cuticles back along the nail. Do not cut cuticles — this risks infection and damages the nail matrix. Simply pushing them back neatly is all you need for the clean soap nail look.
✦ Pro tip: Because soap nails are sheer, ragged or dry cuticles are immediately visible. This step is the single biggest factor in how professional your DIY result looks.4
Buff the Nail Surface
Using the fine-grit side of your buffer block, make 1–2 light passes across the entire surface of each nail. This removes ridges, texture, and any remaining oil — creating the perfectly smooth, glass-like canvas that is responsible for the extraordinary flatness and shine of soap nails. Do not over-buff — you want to smooth, not thin.
✦ Pro tip: This is the most commonly skipped step. Without buffing, ridges show through sheer polish and the glass-smooth soap nail effect is impossible to achieve.5
Clean the Surface Again
After buffing, wipe each nail one more time with a fresh isopropyl alcohol wipe. Buffing creates dust that sits on the nail surface — if you apply base coat over this dust, you get tiny bumps trapped under the polish. This 30-second step makes a significant difference to the final smoothness of your soap nails.
✦ Pro tip: Don't touch your nails with bare fingers after this step — skin oils will transfer and reduce adhesion.6
Apply Base Coat
Apply one thin, even coat of strengthening base coat to all ten nails. Use three strokes — one down the center, one on each side. Let it dry fully before moving on, at least 60 seconds. The base coat protects your natural nail from staining, strengthens the nail plate, and dramatically improves how long your soap nail polish stays adhered and chip-free.
✦ Pro tip: Never skip base coat with sheer polishes. Without it, sheer pigments can stain the natural nail yellow over time.7
Apply Sheer Polish — 1–2 Thin Coats
Apply your chosen sheer pink, nude, or milky polish in thin, even strokes. Use the three-stroke method: center first, then sides. Apply in smooth, confident strokes without flooding the cuticle. Let coat 1 dry for at least 90 seconds before coat 2. For the soap nail look, 1–2 coats is ideal — more than two coats starts to reduce the translucency that defines the look.
✦ Pro tip: The biggest beginner mistake is too much polish at once. Thin coats dry faster, look smoother, and maintain better translucency. Less is genuinely more with soap nails.8
Seal with Ultra-Gloss Top Coat
This is the step that creates the soap nail effect. Apply a generous, flowing coat of your ultra-high-gloss top coat over each nail, wrapping the brush slightly over the free edge (the tip of the nail) to seal it. This "capping the tip" technique prevents chipping from the edge and extends wear significantly. Let dry completely — at least 2 minutes for Seche Vite.
✦ Pro tip: Use the top coat fresh from the bottle — don't wipe the brush on the bottle neck before applying. A full, generous coat creates better gloss than a thin coat.9
Maintenance — The Ongoing Routine
Apply cuticle oil every single day — morning or before bed. Refresh the top coat every 2–3 days to maintain the signature mirror-wet gloss. Wear gloves when doing dishes, cleaning, or any task involving hot water or chemicals. Avoid using your nails as tools. With this routine, your DIY soap nails will look salon-fresh for 7–10 days.
✦ Pro tip: The 30-second top coat refresh is the single most impactful maintenance step. It costs nothing and makes nails look brand new instantly.Gel Soap Nails DIY — Longer Wear at Home
With an LED lamp you can achieve 2–3 weeks of chip-free soap nails at home.
What You Need for Gel DIY
- LED nail lamp (available from $20–$60)
- Gel bonding base coat (e.g. Beetles Base Coat)
- Sheer gel polish in your chosen shade
- Gel top coat — ultra-gloss formula
- Isopropyl alcohol wipes (for gel cleanse step)
- Everything from the regular DIY kit above
How Gel DIY Differs
- Replace regular base coat with gel bonding base — cure 60 sec under LED
- Apply sheer gel polish in thin layers — cure each layer 60 sec
- Apply gel top coat — cure 60–120 sec under LED
- Wipe the sticky inhibition layer with IPA after final cure
- No top coat refreshes needed — gel gloss lasts the full 2–3 weeks
- Removal: soak cotton pads in acetone, wrap in foil for 10–15 min
DIY Soap Nails Maintenance Schedule
| When | What to Do | Time | Why |
|---|---|---|---|
| Every day | Apply cuticle oil to all nails | 30 seconds | Keeps cuticles pushed back and healthy — non-negotiable for soap nails |
| Every 2–3 days | Refresh ultra-gloss top coat | 2–3 minutes | The gloss dulls with daily wear — a refresh restores the wet soap nail finish instantly |
| Every time | Wear gloves for dishes and cleaning | — | Hot water and chemicals destroy the gloss layer faster than anything else |
| Day 5–7 | Assess for chips or lifting | 1 minute | Touch up any chip with a tiny brush dipped in polish, then reseal with top coat |
| Day 7–10 | Remove and redo if desired | 30 minutes | Fresh application always looks better than extended wear on regular polish soap nails |
Top DIY Mistakes to Avoid
❌ Mistake 1
Skipping the Buff
Unbuffed nails have ridges that show through sheer polish and prevent the glass-smooth finish.
✓ Fix: Always buff lightly before base coat. 2 gentle passes is enough.
❌ Mistake 2
Thick Polish Coats
Thick coats bubble, take forever to dry, and look cloudy — destroying the translucency.
✓ Fix: Wipe excess polish on the bottle neck. Thin, even, confident strokes only.
❌ Mistake 3
Wrong Top Coat
A matte or satin top coat makes soap nails look flat and kills the entire wet-glass effect.
✓ Fix: Only use specifically high-gloss formulas. Seche Vite is the benchmark.
❌ Mistake 4
Neglecting Cuticles
Dry, overgrown cuticles are immediately visible through sheer polish and ruin the clean look.
✓ Fix: Cuticle oil every single day without exception.
❌ Mistake 5
Not Capping the Tip
Not wrapping the top coat over the nail tip causes chipping from the edge within days.
✓ Fix: Swipe the brush over the free edge on every coat — base, polish, and top coat.
❌ Mistake 6
Touching Nails Too Soon
Touching or bumping freshly applied nails causes dents, smears, and bubbles in the finish.
✓ Fix: Wait at least 5 minutes after top coat before using hands. Fully dry in 30 min.More DIY Resources
New to soap nails entirely? Start here before attempting the full DIY tutorial.
Every OPI shade that works perfectly for the soap nail DIY look.
Essie's best sheer, translucent polishes for the perfect DIY soap nail finish.
Rather have a professional do it?
Book your appointment and let our technicians create the perfect soap nail finish for you.